Panel Tilt and Orientation: Optimising for the Season That Matters
Why off-grid systems should size tilt for the worst month rather than the annual average, latitude-based tilt rules and their limits, and ground versus roof mount tradeoffs.
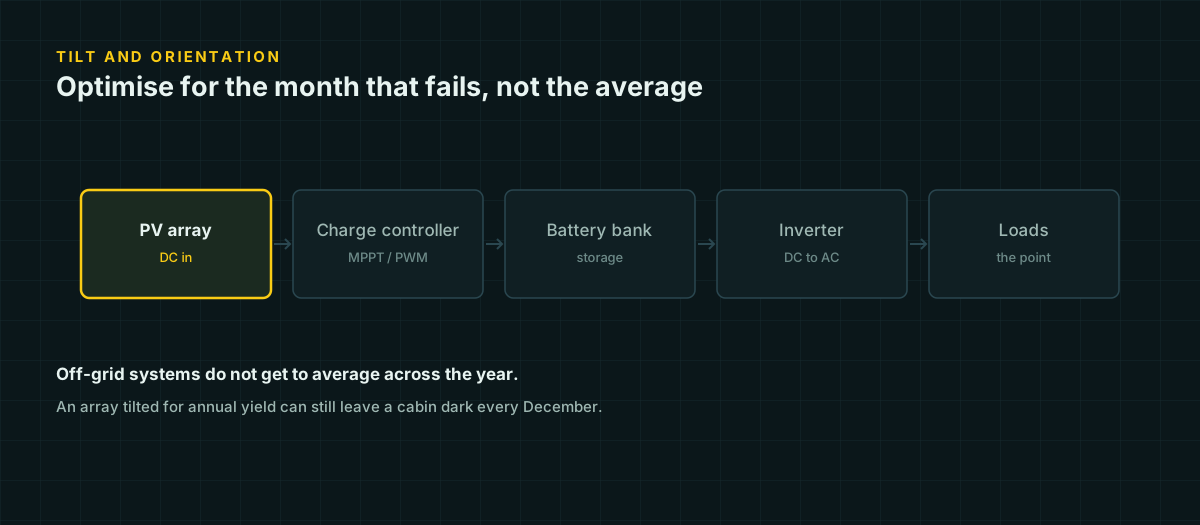
Most tilt-angle advice online is written for grid-tied systems chasing the highest possible annual kilowatt-hour total. Off-grid systems have a different problem: the battery bank has to survive every month of the year, not just perform well on average. A tilt angle that maximizes June production while starving December is optimizing for the wrong season, because June was never going to be the month that ran the battery flat.
This page covers tilt and orientation the way an off-grid design actually needs them — biased toward the worst month, with the tools to check your own site rather than a table of numbers we can’t stand behind.
Size for the worst month, not the average
An off-grid battery bank is only as reliable as its worst production month. If a system produces a comfortable surplus from March through October and falls short every December and January, the annual average can look fine while the system fails exactly when failure matters — during the season with the least daylight, the coldest temperatures, and often the highest indoor electrical load.
This reframes the tilt question entirely. A grid-tied installer optimizing for total annual yield might land on a moderate tilt close to latitude. An off-grid designer optimizing for the worst month should be willing to sacrifice some summer production in exchange for a meaningfully better winter number, because summer was never the constraint.
Latitude-based tilt rules and their limits
The most commonly published starting point sets tilt equal to latitude for year-round balance. Unbound Solar states it directly: “To optimize overall production year-round, tilt your panels at your latitude.” For a site at 33°N, that means roughly a 33° tilt.
For winter-biased, off-grid-style tilt, published rules of thumb steepen that angle. One version, from CleverSolarPower, gives separate seasonal formulas for the northern hemisphere:
Winter tilt        ≈ (latitude × 0.9) + 29°
Summer tilt         ≈ (latitude × 0.9) − 23.5°
Spring/fall tilt   ≈ latitude − 2.5°
Applied to a latitude of 38.7° (roughly Colorado Springs), this gives a winter tilt near 64°, a summer tilt near 11°, and a spring/fall tilt near 36° — a wide spread across the year. Run the same formulas at a more northern site, say 47° latitude: winter tilt (47 × 0.9) + 29 = 71.3°, summer tilt (47 × 0.9) − 23.5 = 18.8°, spring/fall tilt 47 − 2.5 = 44.5°. The spread widens further at higher latitude, which tracks with intuition — the sun’s seasonal swing in altitude is more extreme the further you are from the equator, so the tilt angle that best matches it swings further too.
Treat this as a rule of thumb, not a physical constant. Different published sources use different constants in formulas like this one, which is a sign that they’re fitted approximations rather than derivations from first principles — useful for getting into a reasonable range quickly, not precise enough to be the last word on a fixed, non-adjustable mount. If your racking is fixed rather than seasonally adjustable, a middle-ground compromise — something steeper than the pure annual-average latitude figure but short of the full winter-only angle — is the common practical choice, and the right compromise point depends on how punishing your specific worst month actually is.
Is seasonal adjustment worth the effort?
Where racking allows it, adjusting tilt a few times a year captures most of the benefit of both extremes: steep in winter for a low sun angle, shallow in summer where a high sun angle already delivers strong production even at a flatter tilt. The cost is mechanical — either manual adjustment on a schedule someone has to remember, or a motorized system with its own failure modes and expense.
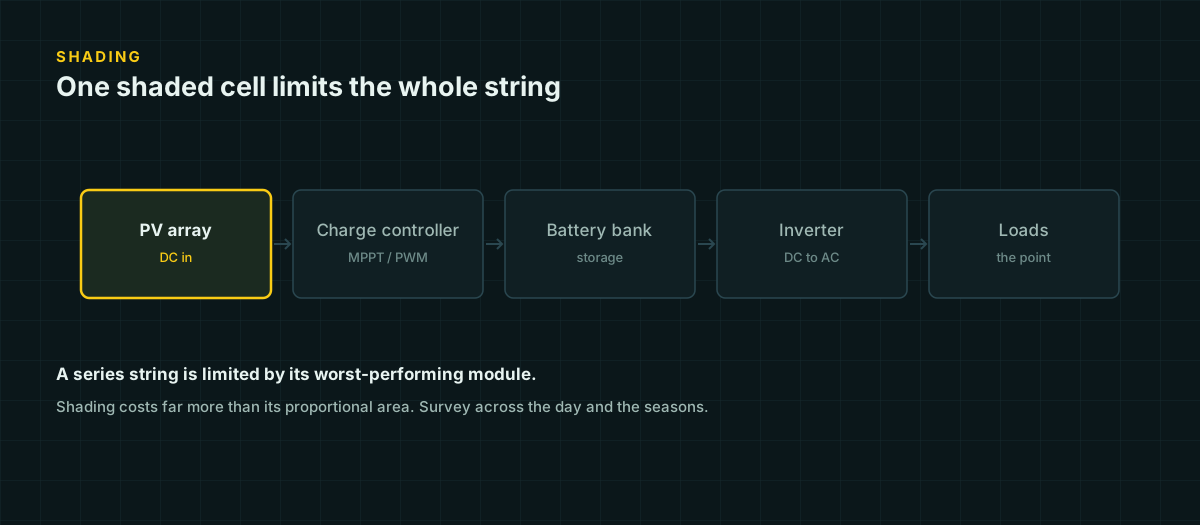
For a small off-grid build, this is usually a secondary optimization. Getting the fixed tilt roughly right for your worst month, keeping the array unshaded (see our shading placement check), and sizing the battery bank with a realistic autonomy margin will matter more than chasing the last few percent from a seasonal adjustment mechanism. Consider seasonal tilt adjustment once the simpler decisions are already solid, not as a substitute for them.
Azimuth: which way the array faces
Tilt is the up-down angle; azimuth is the compass direction the array faces. In the northern hemisphere, true south (180°) is the reference direction that maximizes exposure to the sun’s daily arc; true north is the equivalent reference in the southern hemisphere.
True south is not the same as compass south, and this catches people who aim an array with an uncorrected compass. Unbound Solar notes that “depending on your location, the compass reading can be inaccurate by as much as 25°” due to magnetic declination — the difference between magnetic north (where a compass needle points) and true north (the geographic pole). Twenty-five degrees off true south is not a rounding error for a fixed array that’s going to sit at that heading for its entire service life. Look up your site’s local magnetic declination (widely available from national geological survey tools) and correct for it, or sidestep the compass problem entirely by referencing true south directly: at true solar noon, a vertical stake’s shadow points exactly along the true north-south line, no declination correction needed. That’s the same shadow-stick technique covered in our shading placement check, repurposed here to aim the array instead of to survey obstructions.
We are not publishing a specific percentage-loss-per-degree-of-azimuth table. The physical principle is sound and well established — light striking a surface at an angle delivers less intensity than light striking it head-on, following a cosine relationship between the incoming sun direction and the panel’s surface normal, as PVEducation’s treatment of arbitrary orientation and tilt lays out mathematically. But the published aggregator figures that try to turn that principle into a simple “X degrees off equals Y percent loss” table disagree with each other by a wide margin once you check more than one source, and none of them trace back to a primary dataset we could verify. Rather than pick one and present it as settled, the honest answer is: azimuth tolerance near true south is fairly forgiving, losses grow as you approach due east or west, and the actual number for your tilt, latitude, and orientation is worth modeling for your specific case rather than reading off someone else’s table.
Ground mount versus roof mount
Both work. The tradeoffs are shading, cooling, and practicality, not raw panel efficiency.
Shading control. A ground mount lets you choose the least-obstructed spot on a property, sometimes moving it entirely away from a shade-prone building. A roof mount is stuck with whatever orientation and obstruction profile the existing roof provides — chimneys, vents, and neighboring structures included.
Cooling. A module’s power output falls as its cell temperature rises above the 25 °C standard-test-condition reference, by a manufacturer-published temperature coefficient — commonly in the range of roughly a third of a percent per °C for crystalline silicon modules (see our charge controller sizing guide for the exact formula and how it’s used for voltage, which is driven by the same underlying coefficient concept). A ground mount with open racking has airflow on the back of the module that a roof-integrated mount often lacks, where the module sits close against a warm roof surface with limited ventilation behind it. We won’t put a specific number on how many degrees cooler a given ground mount runs — that depends heavily on racking height, wind exposure, and roof construction — but the mechanism is real and consistently favors ground mounts for thermal performance.
Practicality. Roof mounts use space you’re not otherwise using and keep the array off the ground, away from foot traffic, mowing equipment, and curious animals. Ground mounts are easier to access for cleaning, wiring changes, and seasonal tilt adjustment, and they don’t require any roof penetrations or structural load assessment — though they do need their own foundation or ballast, and a longer conductor run back to the equipment, which reopens the voltage-drop math covered in our series versus parallel wiring guide.
Snow shedding
Snow accumulation on a shallow-tilted array can block production for days after a storm, well past the point the roads are clear. The mechanism is straightforward: gravity has to overcome the friction between snow and the panel surface, and a steeper tilt gives gravity more mechanical advantage to work with, especially once the surface warms slightly from whatever sunlight is getting through.
We’re not publishing a specific “minimum degrees for snow shedding” figure here — search results for this question return a wide spread of installer opinions with inconsistent numbers and unclear sourcing, which is exactly the kind of unverifiable claim this site avoids repeating as fact. What’s defensible is the mechanism and the tradeoff: a tilt chosen to be winter-favorable for production reasons (see the latitude-based rules above) is, as a side effect, also steeper and therefore better at shedding snow than a shallow annual-optimal tilt would be. If snow load is a serious concern at your site, ask a local installer familiar with your specific snow conditions rather than relying on a generic angle pulled from an unrelated climate.
Checking your own case
Every number in this page is a starting point for reasoning, not a substitute for modeling your actual site. NREL’s PVWatts calculator is the standard free tool for this — it lets you enter your address, tilt, and azimuth directly and returns a modeled production estimate and loss breakdown for your specific inputs, which is more reliable than any generic table (including the tilt formulas above) because it accounts for your actual latitude and local weather patterns rather than a rule-of-thumb approximation. At the time of writing we could not reach NREL’s servers to verify current output directly, so we’re not reproducing specific PVWatts results here — but running your own tilt and azimuth through it before finalizing a fixed mount is worth the ten minutes it takes.
Sources and further reading
Figures on this page are traceable to the published documents below. Where a standard is referenced, check the edition your local jurisdiction has adopted before relying on it.
- Best Tilt Angle for Solar Panels [Summer + Winter]CleverSolarPowerSource for the seasonal latitude-based tilt formulas. These are published rules of thumb, not a physical law; other sources use slightly different constants.
- Tilt & Azimuth Angle: Find the Optimal Angle to Mount Your Solar PanelsUnbound SolarSource for the year-round tilt-equals-latitude rule and the compass magnetic-declination figure.
- Arbitrary Orientation and TiltPVEducation.orgSource for the cosine/dot-product principle behind why off-axis orientation reduces incident light; this page does not publish a simple degrees-to-percent conversion, which is why we don't either.